Friday, March 18, 2011

Don't Look Up!

Up next in the living room was prepping of the ceiling. I really, really dreaded working on the ceiling. I put it off for days and spent inordinate amount of time googling how to do it. Why worry about the ceiling? Why not just prime and paint?

MC7241306_9_0
Living Room Before: this is the paint and the Prior's furniture. bleh

MC7241306_8_0
Living Room Before: this is the paint and the Prior's furniture. bleh

MC7241306_7_0
Living Room Before: this is the paint and the Prior's furniture. bleh

Well, like a lot of our house projects, we mostly are fixing the awful DIY attempts by the previous owners (We'll call them "the Priors"). The living room ceiling was one of the worst offenders in the house. The Priors had globbed on the dark puke mint paint and must have done it in the dark late at night. There were whole sections of ceiling missing paint, showing the white primer through the puke. Most of the surface was bumpy, with runny paint stalactites. Other sections were veined with plaster cracks, some feebly ‘fixed’ with smooth spackle juxtaposed with the geologic paint features.

DSC06904

In short, the ceiling needed work. We were planning to paint it a light, off-white color which would inevitably highlight the flaws (actually, it’s the same color we used in the kitchen). My parents had recently skip-trowel plastered their kitchen walls and ceiling, achieving a beautiful, textured, old-world style stucco look. My dad tinted the plaster mix with paint colorant and the project took him weeks to finish. Literally, weeks…

I liked the look and knew it would hide the ceiling flaws, but I only had two days to do the project. Then I came across a slightly different method on the DIY Diva Blog that used a thin coat of pre-mixed joint compound, spread and “skip-troweled” with a 10 or 12 inch mud knife. I convinced my beautiful wife that this would be a great solution to fixing our ceiling. She agreed. However, I doubted my skills and was anxious that I would screw up the ceiling even worse.

Up next, I’ll show you what happened...

Thursday, March 17, 2011

Don’t Dodge the Draft, Plug it! Or, a tutorial on how we fixed the gap

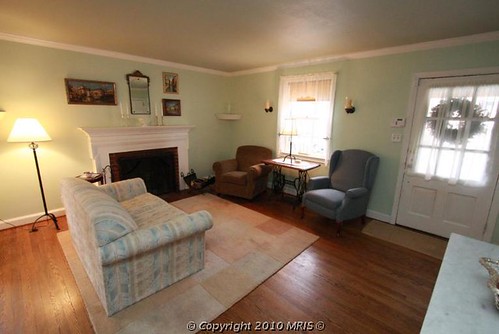
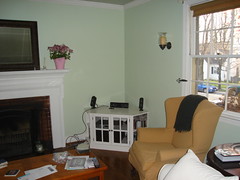
Before we painted the living room, including the trim, we knew that we wanted to do something about the drafty baseboards. We decided not the paint the wood floor-matching quarter-round and figured that this would be the perfect time to fix the drafts.

gap in baseboards
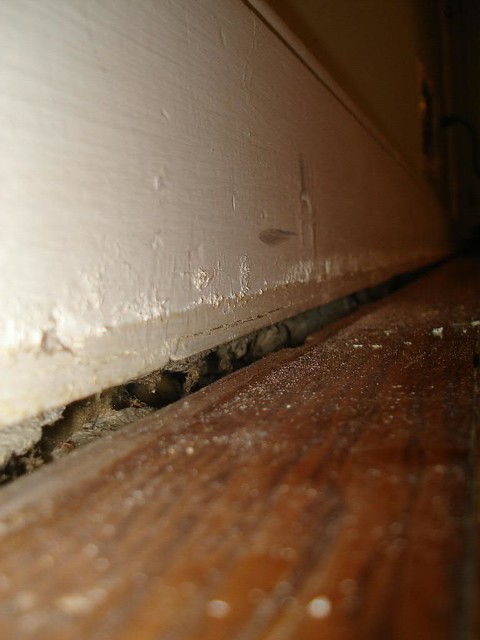
We really minded the gap

Our house is a typical brick and plaster, 1940s cape-cod. While it was built very solid and with enormous character, the builders didn’t seem to care much about insulation and air sealing. In my masterpiece Paint drawing below, I show side and top views of the exterior walls. The anatomy of these exterior walls consists of brick (red), concrete blocks (gray), 1 inch deep furring strips, half inch of old style gypsum board (we’ll post on this later!), and a quarter inch of plaster (yellow). As far as insulation goes, there really isn’t any. Air comes in through the attic down between the plaster board and the concrete block (between yellow and gray), in between the furring strips and right under the base boards into the room.

diagram of wall construction in 1947 Cape cod house
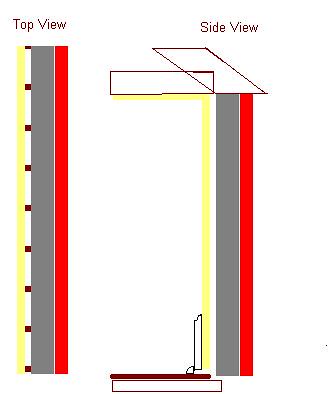
Wall diagram of 1940's brick cape cod

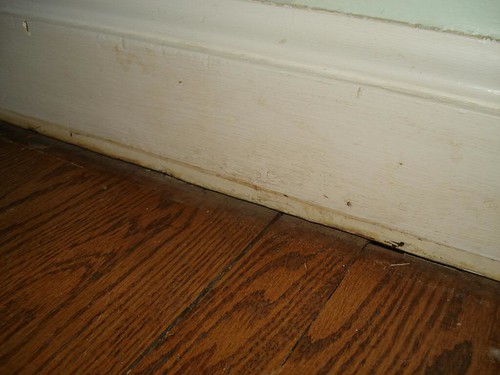
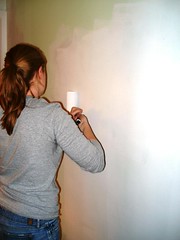
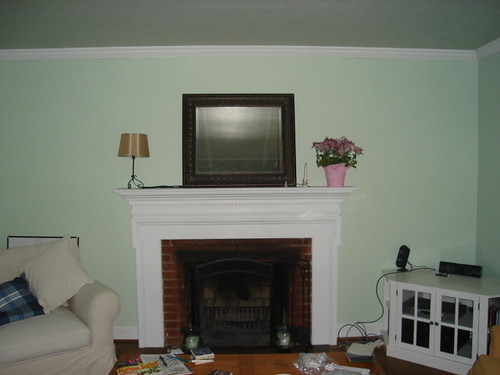
We had serious cold drafts in the living room and everywhere else on the main floor. It blew so strongly at times that the curtains would flutter. So, I decided to fix it. I googled and googled and found lots of info on how to seal under the baseboards. I decided to go with Great Stuff Foam, specifically the window and door version that stays flexible after drying. While it's messy, it applies easily, is dry in an hour, and has really done a great job at sealing our house from drafts. In short, I have a dozen cans of Great Stuff on hand in my basement tool stockpile because I love to plug stuff up that much. Really this post might as well just be an unpaid, unsolicited promotion of the foam.

dirty baseboards need painting
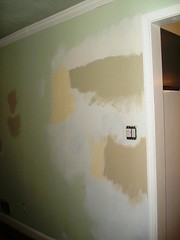
These baseboards definitely needed painting!

I started by using a pry bar to carefully pop off the quarter round without breaking it. By the way, I've got two prybars/demolition bars/man tools in my arsenal, one for delicate projects - Stanley 12-inch Wonder Pry Bar and a big boy for ripping shit up (like walls, projects at impasses, and general destruction), Stanley FatMax Xtreme Utility FuBar. Seriously, it's officially called a Fubar (F*$% stuff up-Bar), but I call it the MAN TOOL and it's for serious business.

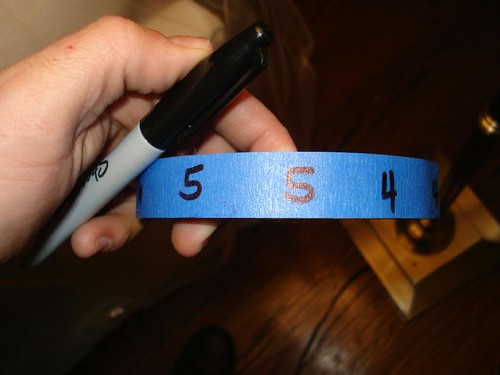
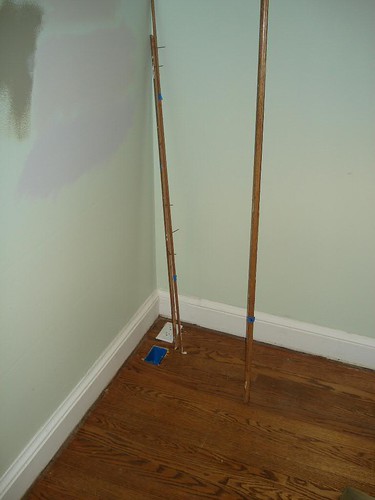
Anyway, on to the baseboards... Don't use the man tool here, unless you plan on replacing, well, the baseboards, walls and floor. I used the regular prybar for this job and occasionally a razor to cut sloppy paint. As I planned on reusing the quarter round to save dough, I needed to figure out a way to keep track of where each piece went. So, on painter’s tape, I made numbered labels and labeled each section of quarter round with a number, going all the way around the room.


DSC06890

quarter round trim removed and labeled
Quarter round pieces removed and labeled


painters tape on edge of gap to protect floor
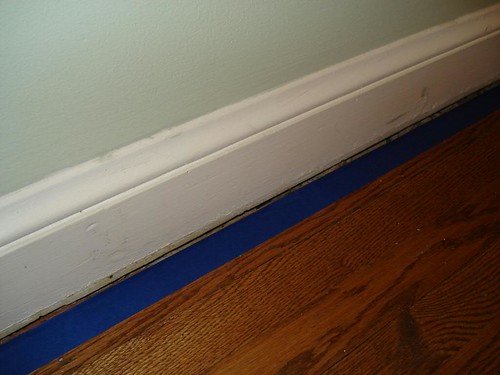
Painter's tape to protect the floor. Look at those minty walls, yuck!

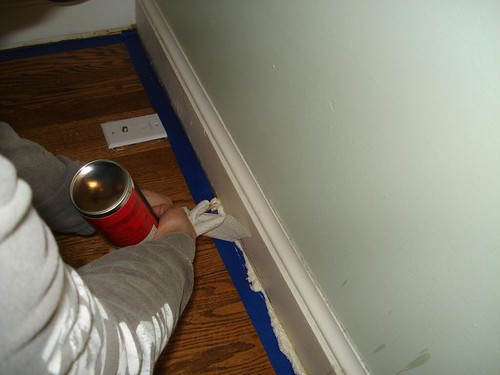
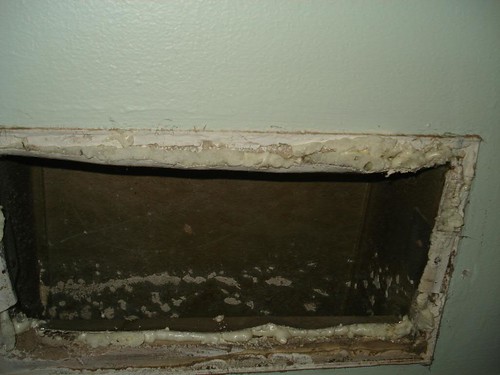
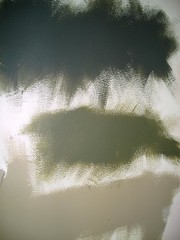
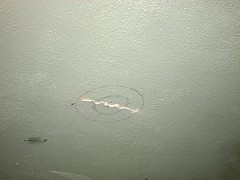
To keep from messing up the hardwoods, I ran 2 inch wide painters tape on the floor about half inch from the baseboard. We vacuumed the gap and proceeded to foam fill the gap on all the external walls. Around the air return ducts we filled the gaps outside the duct.

foaming under baseboard
Push the straw in deep in the wall, spray working the straw out until the foam appears

sealing around the return hvac duct
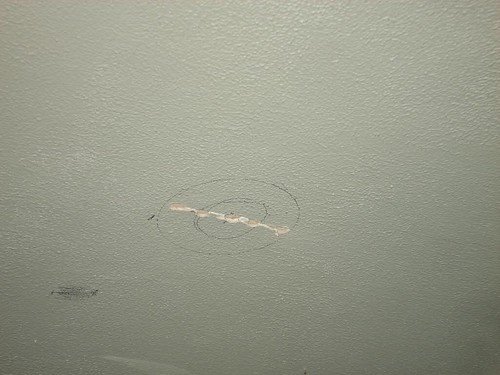
The return duct had a huge gap around it allowing air to blow through the wall. Could have just left a window open year round for the same effect.

Tips for using spray foam insulation/sealant (from trial and error):

1. Wear disposable gloves when foaming! The foam gunk won’t come off your skin for two weeks. Don’t use water to clean it, that makes it dry even faster. And of course don’t eat it. I'm an idiot for not wearing gloves in the pics above.

2. Put the foam can in a plastic grocery bag, poke a hole in the bag and stick the can straw through the hole. When you get near the end of the can, the nozzle tends to ooze and it will be all over your hands without the bag. Paper towel works too, but shreds of it often super glue to your skin.

3. Be ready to use the entire can and don’t stop till its empty. If you set the can down for 10 mins to go grab a beer or do whatever, the can will stop up and be unusable. At $5 a pop, I'm too cheap to let any foam go to waste!

4. When the foam is set and its dry (give it overnight), use an old serrated bread knife to cut the excess. A razor/utility knife is useless. I ran the bread knife blade parallel to the baseboard cutting of the excess.

5. Needless to say, if you have carpet, you should either pull the carpet up to do this projects or do not attempt at all. I found that the dried foam globs come off the wood floor easily. Don't be tempted to wipe it up while its gooey.

Anyone else with an old house ever had to do this?

Thursday, March 10, 2011

Color, Color on the Wall, Which Paint Shade, Sheen, and Brand is the Fairest one of Them All

First up on the list of to-do’s in the living room was to pick out the new paint color. How hard could it be to find a warm/not-minty/not-pukey/luxurious-yet-comfortable/sagey-gray paint color? Almost impossible!

First, we had a sample color matched to what we thought was a lovely, soft sage color from Alex’s uncle’s house. The sample turned out to be the pukiest green ever! When our friend Allison saw the sample square on the wall, the first thing she said was “You’re not going to paint the room that color, are you? It looks like barf!” And then our neighbor came over and asked “So you’re replacing minty with vomit?” No, we were definitely not going to paint the walls that color.


DSC06895


The next round of samples weren’t right either. We picked three dark greens, “Painted Turtle” (Behr), “Egyptian Nile” (Behr) and “Fossil Stone" (SW), and three light greens, “Svelte Sage”, “Ancient Marble” and “Liveable Green” from Sherwin Williams. But they were either too dark or too light. Duh.

P2020447

LR Colors all


By the way, color samples on the wall do not look like the paint chip which do not look like the color on your computer screen. Plus, testing new paint colors on top of minty/puke green background didn’t help. So we got smart and primed an entire wall to have a clean, primer white surface for contrast.

DSC06906


Feeling a bit discouraged, we turned to magazines for inspiration and found an article about a living room makeover. It looked like the perfect paint color—and it listed the color name and brand!

Off to the local Benjamin Moore store we went. We confidently went to the paint chip wall, and grabbed the card for "Polar Sky". However, the magazine had listed the paint color with the wrong name! What the magazine said “Polar Sky” looked like (creamy sage) was not what the paint chip looked like (frosty blue). Luckily, a very helpful sales lady came over to help. I explained the rather long list of requirements for the color (not minty or pukey, gray undertones rather than yellow, not a beige) and she suggested two perfect colors - Moon Shadow (1516 Ben Moore) and Grant Beige (HC-83 Ben Moore).

We painted the samples on the the freshly primed wall next to a sample of our kitchen color (Tea Light SW). And,
though these two samples both looked the same to Alex (he's color blind!), we finally had a winner!

DSC06897

Moon Shadow by BM was exactly what we’d been searching for. It looked great with the ceiling color we’d already decided to continue from the kitchen, “Alabaster” in Harmony (Low VOC) by Sherwin Williams and for flow, looked good next to the Tea Light from the Kitchen. Since the rooms are right next to each other, we thought it would be good to have the colors coordinate from one room to the next.

If you've had a rough time picking out paint colors or just want to comment on our unfortunately long color picking process, let us know in the comments below!

Updating the Living Room: In the Begining

When we moved in, the living room was not high on the priority list of things to change. The master bedroom and bath topped the list followed by the kitchen. We put off fixing up the living for almost a year. We decided that we needed to “live” in it for a while before we could figure out how we wanted to update it. It didn’t take long, though, for the list of projects started adding up…

DSC06690

DSC06689

DSC06688

The walls were a really, really minty green color and the ceiling had splotchy tinted primer that didn’t cover the cracks in the plaster. Because the ceiling had been patched by previous owners, there were places where it was smooth dispersed among places where it was textured.

DSC06687

DSC06904

And the “tinted” primer was too dark so it made the ceiling feel low and cramped.

P8200010
And while our furniture fit nicely, the tone of the walls and ceiling wasn’t warm or inviting—the feelings we wanted to associate with a room we spend so much time in. Plus, 1940s houses didn’t have overhead lighting so we were dependent on floor and table lamps to dimly light the cave.

As the focal point of the room, the fireplace was really the first project in the room we knew had to be updated. The hearth was tiled with the original 1940s 6x6 brick tiles, the surround was sooty brick, and the “white” mantel wasn’t white anymore.

P1270431

Let’s be serious, the room wasn’t that bad. The original hardwood floor was still gorgeous (although it needed a good buffing). And, after several iterations of furniture arrangements, we found one that really worked. So, with a (long) list of to-do’s and a plan for the room, we got started!