Before we painted the living room, including the trim, we knew that we wanted to do something about the drafty baseboards. We decided not the paint the wood floor-matching quarter-round and figured that this would be the perfect time to fix the drafts.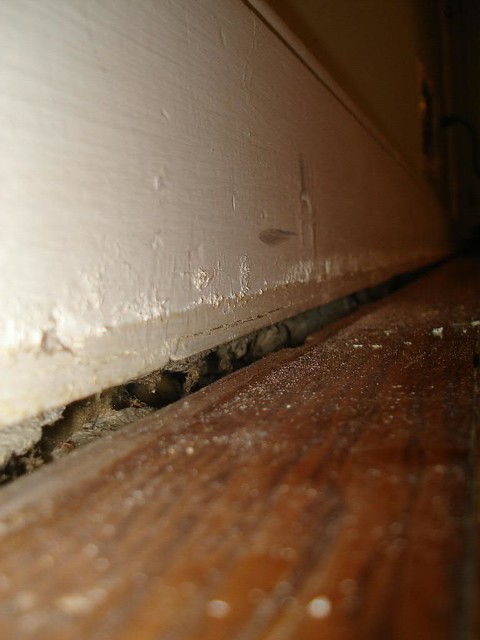 We really minded the gap
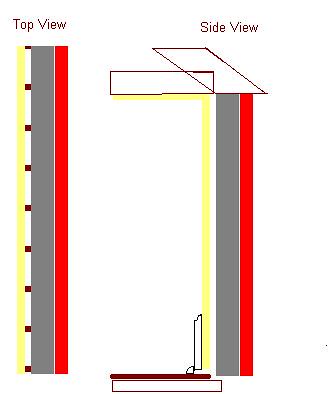
Wall diagram of 1940's brick cape cod
We had serious cold drafts in the living room and everywhere else on the main floor. It blew so strongly at times that the curtains would flutter. So, I decided to fix it. I googled and googled and found lots of info on how to seal under the baseboards. I decided to go with Great Stuff Foam , specifically the window and door version that stays flexible after drying. While it's messy, it applies easily, is dry in an hour, and has really done a great job at sealing our house from drafts. In short, I have a dozen cans of Great Stuff on hand in my basement tool stockpile because I love to plug stuff up that much. Really this post might as well just be an unpaid, unsolicited promotion of the foam.
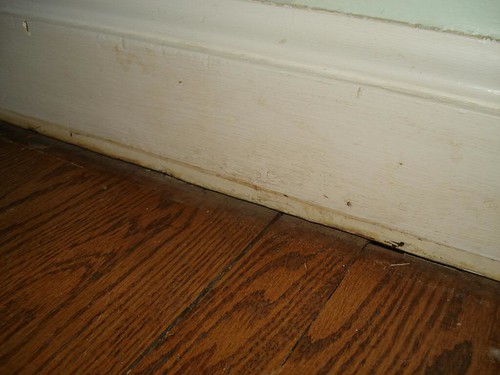
These baseboards definitely needed painting!
I started by using a pry bar to carefully pop off the quarter round without breaking it. By the way, I've got two prybars/demolition bars/man tools in my arsenal, one for delicate projects - Stanley 12-inch Wonder Pry Bar and a big boy for ripping shit up (like walls, projects at impasses, and general destruction), Stanley FatMax Xtreme Utility FuBar
 . Seriously, it's officially called a Fubar (F*$% stuff up-Bar), but I call it the MAN TOOL and it's for serious business.
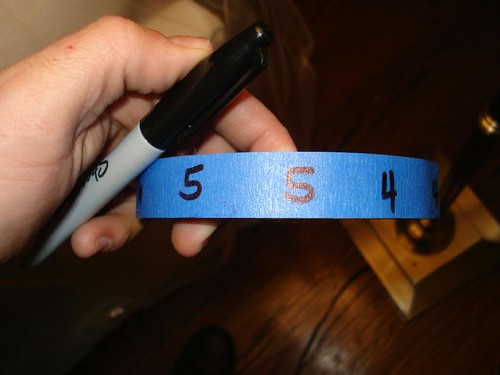
Anyway, on to the baseboards... Don't use the man tool here, unless you plan on replacing, well, the baseboards, walls and floor. I used the regular prybar for this job and occasionally a razor to cut sloppy paint. As I planned on reusing the quarter round to save dough, I needed to figure out a way to keep track of where each piece went. So, on painter’s tape, I made numbered labels and labeled each section of quarter round with a number, going all the way around the room.Quarter round pieces removed and labeled
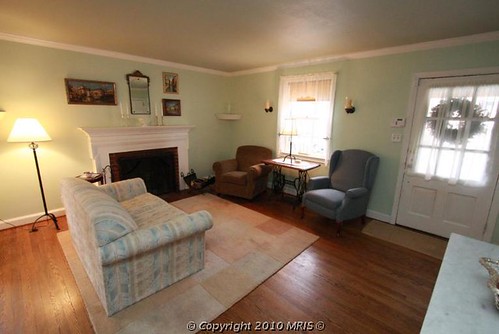
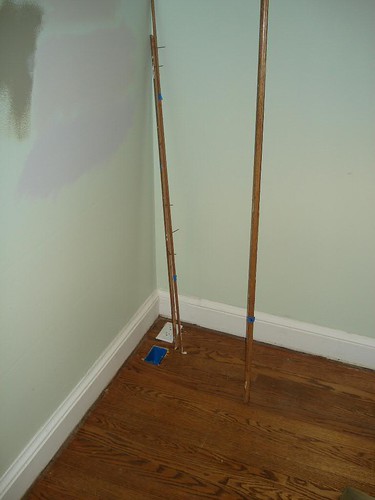
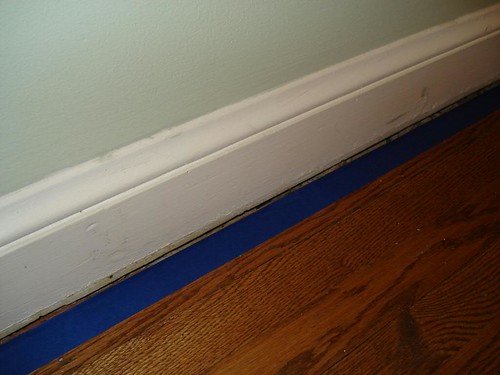
Painter's tape to protect the floor. Look at those minty walls, yuck!
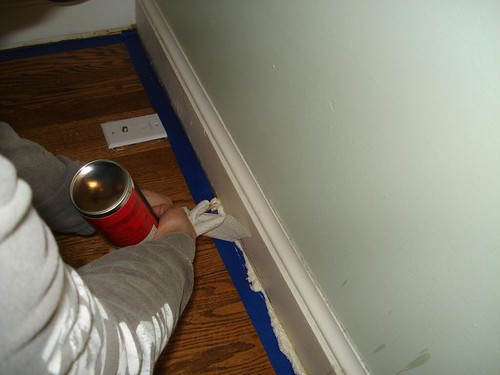
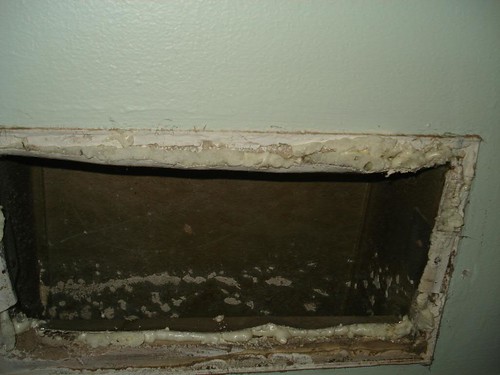
To keep from messing up the hardwoods, I ran 2 inch wide painters tape on the floor about half inch from the baseboard. We vacuumed the gap and proceeded to foam fill the gap on all the external walls. Around the air return ducts we filled the gaps outside the duct.Push the straw in deep in the wall, spray working the straw out until the foam appears
The return duct had a huge gap around it allowing air to blow through the wall. Could have just left a window open year round for the same effect.
Tips for using spray foam insulation/sealant (from trial and error):1. Wear disposable gloves when foaming! The foam gunk won’t come off your skin for two weeks. Don’t use water to clean it, that makes it dry even faster. And of course don’t eat it. I'm an idiot for not wearing gloves in the pics above.2. Put the foam can in a plastic grocery bag, poke a hole in the bag and stick the can straw through the hole. When you get near the end of the can, the nozzle tends to ooze and it will be all over your hands without the bag. Paper towel works too, but shreds of it often super glue to your skin.3. Be ready to use the entire can and don’t stop till its empty. If you set the can down for 10 mins to go grab a beer or do whatever, the can will stop up and be unusable. At $5 a pop, I'm too cheap to let any foam go to waste!4. When the foam is set and its dry (give it overnight), use an old serrated bread knife to cut the excess. A razor/utility knife is useless. I ran the bread knife blade parallel to the baseboard cutting of the excess.5. Needless to say, if you have carpet, you should either pull the carpet up to do this projects or do not attempt at all. I found that the dried foam globs come off the wood floor easily. Don't be tempted to wipe it up while its gooey.Anyone else with an old house ever had to do this?




 Posts
Posts


